
Shoe Making: Part One - Making a Pattern
I’ve been interested in shoemaking for some time, especially after gaining experience in leatherwork and crafting simple wallets. Recently, I purchased some shoe lasts from Alibaba and decided it’s time to put them to use. The lasts I chose are designed in a “barefoot” style, featuring a wider toe box that allows for more natural toe movement. My initial project will be to create a basic Desert/Chukka Boot, opting for a simple and classic design as a starting point.
My goal is to complete the project using a minimal set of tools to minimize costs, so I will be hand-stitching and maintaining simplicity in the process. To begin, I intend to create just one shoe to test out a pattern, using affordable leather offcuts I purchased from eBay. If I am satisfied with the pattern and the outcome, I then plan to acquire higher-quality leather and attach soles. Throughout the process, I will document as much as possible, enabling others to follow along and craft their own boots.
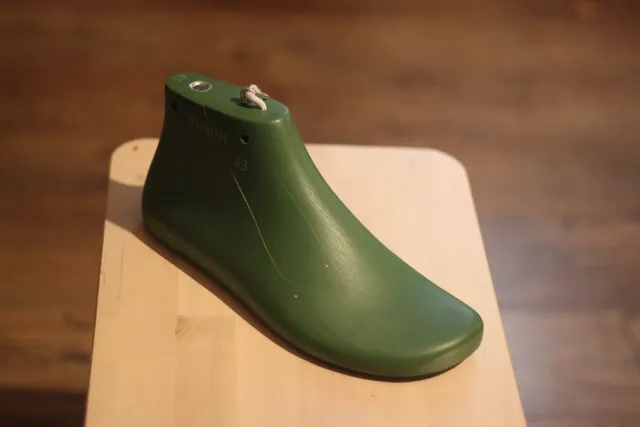
The image above shows the barefoot shoe last that I’ll be using for this project.
To begin making the pattern, I covered the last with masking tape. I applied several layers, alternating the direction of the tape with each layer and ensuring overlap within each layer. I also extended the tape across the sole to create a pattern for that part as well.
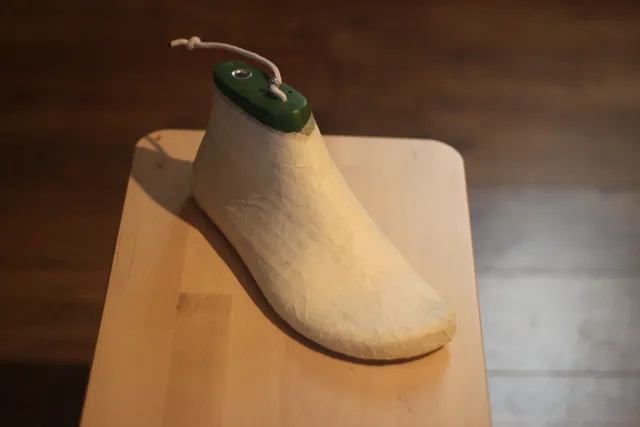
The image above displays the last completely covered in tape, and at this point, I was ready to mark out the pattern on the masking tape. As I mentioned earlier, I’m aiming for a simple design, so I kept it straightforward and sought inspiration from examples online. Although not shown in the picture, I also drew a line for a seam at the back of the shoe and around the edge of the sole to guide me during the cutting process.
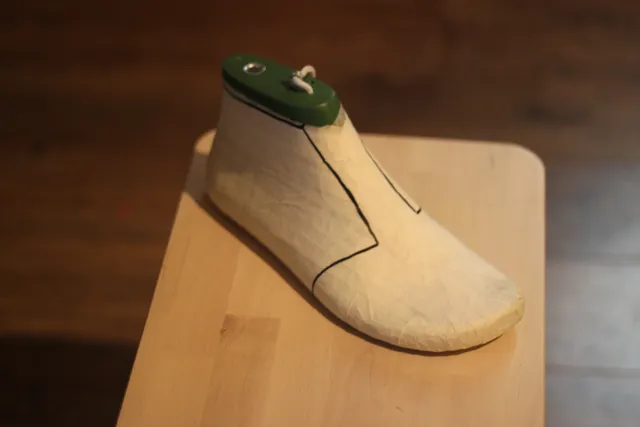
This image shows the last marked with the pattern I created before starting the cutting process.
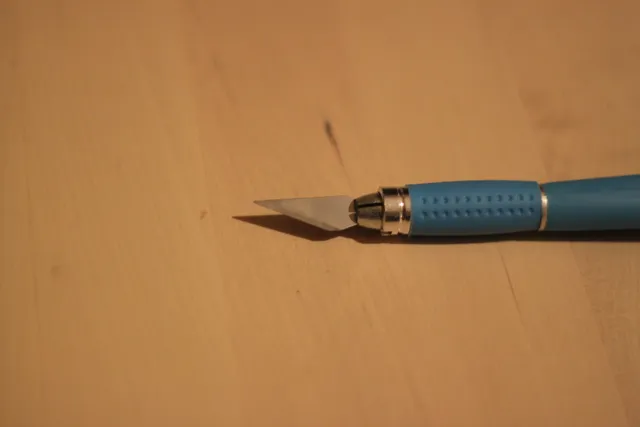
Following that, I carefully cut along the lines marked with a black marker pen using a craft knife. This allowed me to peel the tape off the last, resulting in four pieces: two sides, a sole, and the vamp.
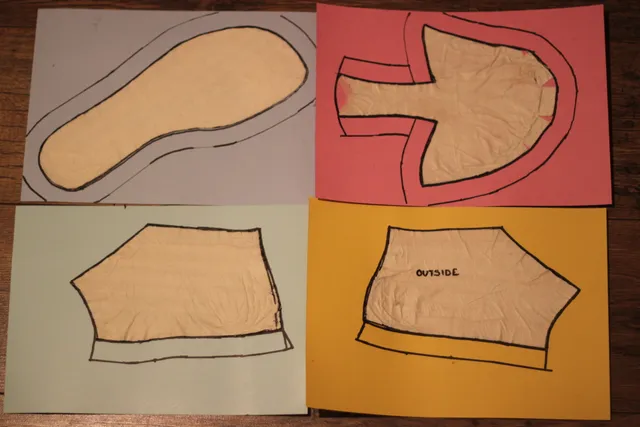
Next, I affixed the masking tape pieces onto a piece of cardboard. For the toe section, I had to make some relief cuts in the masking tape to allow it to flatten out properly. To allocate additional material for stitching the shoe together, I used the width of a small ruler as a guide on the relevant pieces. I may have allowed for more excess than necessary, but it can be trimmed if it becomes cumbersome and will definitely be trimmed when the shoe is being stitched together.
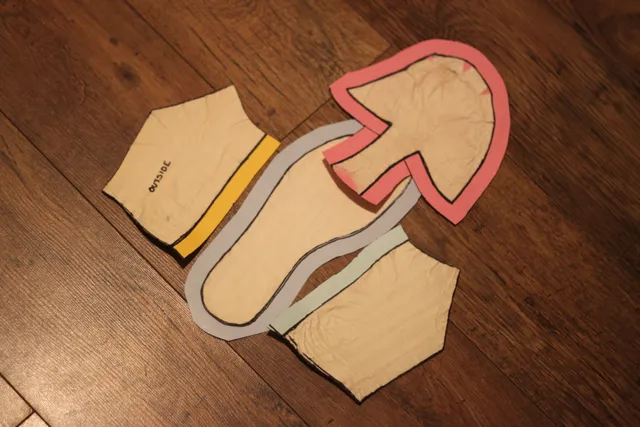
I proceeded to cut along the lines, which left me with my patterns. The next step will be to transfer these patterns onto leather and cut them out.